TV Installation and in wall cable hiding DIY
Great deal at Best Buy


Lets get it installed.
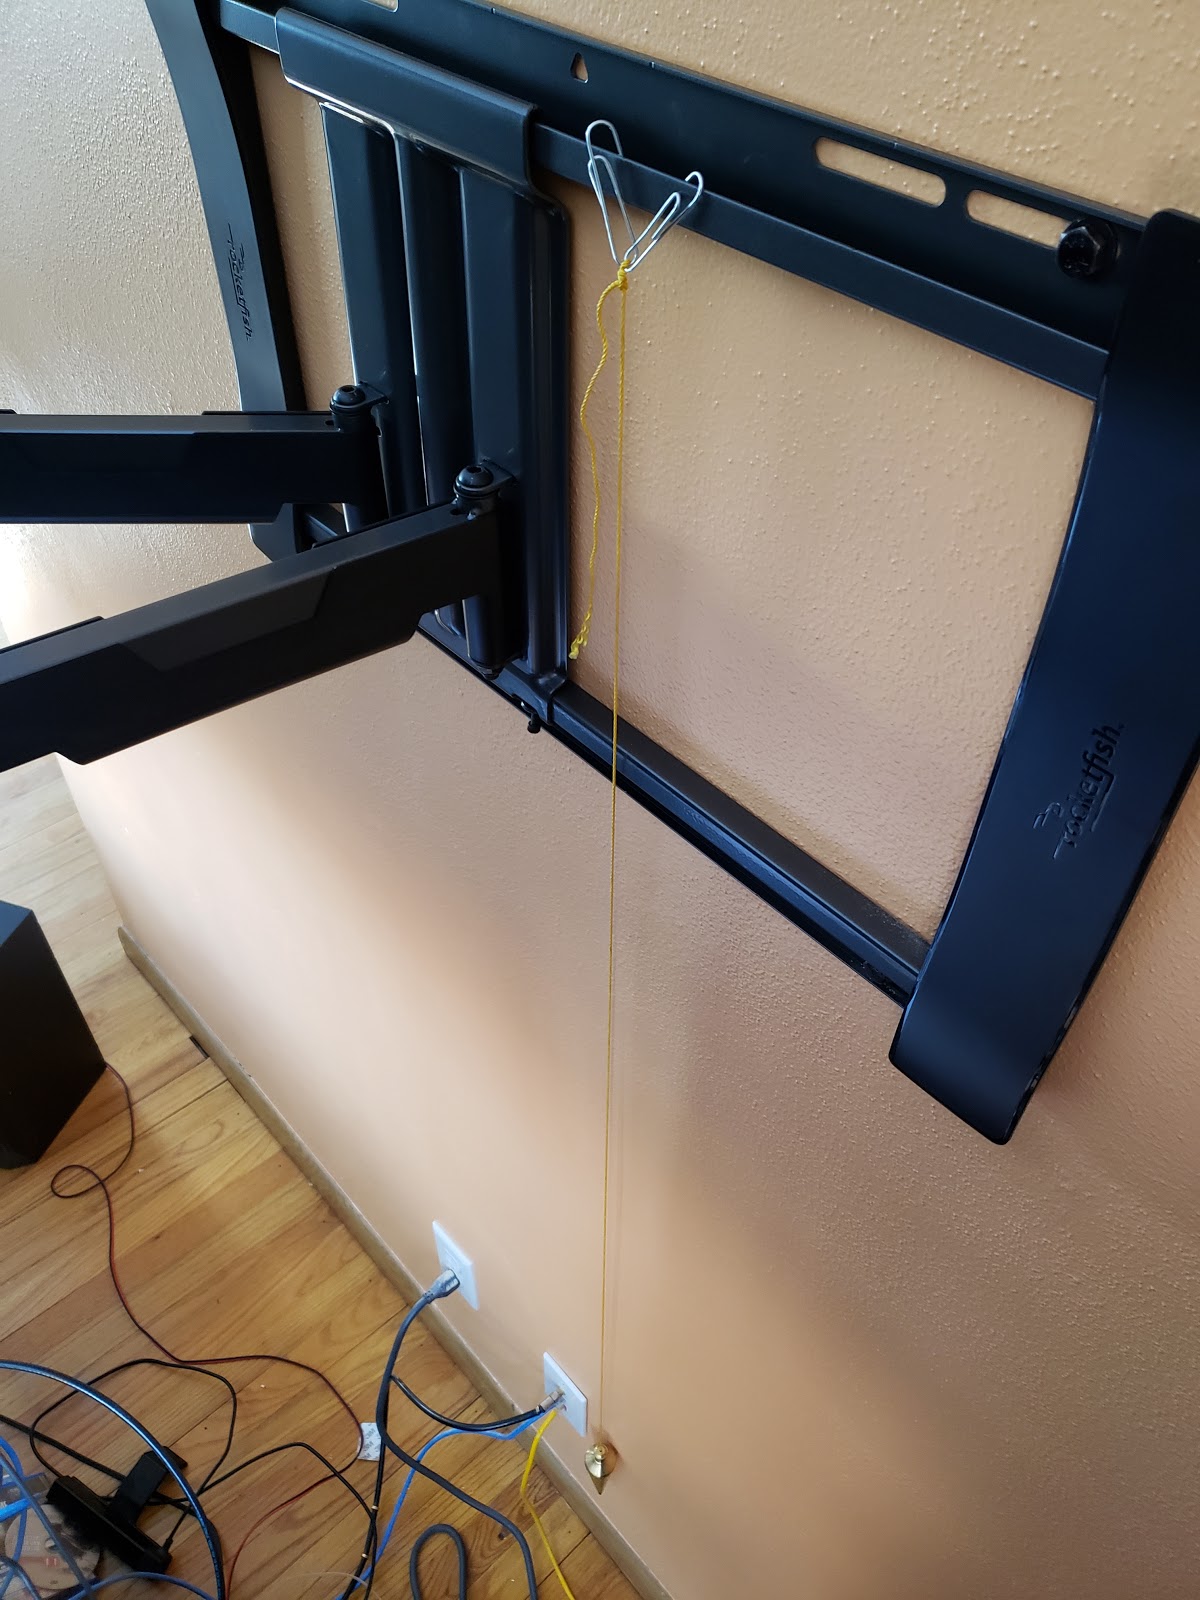
I went with a dual-arm Rocket fish wall mount. Rocket fish instructions and installation went perfect.
centered lag bolts on studs with predrilled holes to carefully not split 2x4s in the wall.


Oh, the horror of those aesthetically unpleasing cables.

The Fix to the problem.


The Pendulum to assist in the alignment of the holes.

Making a template for the hole cutting based on instructions, which I will doublecheck and alter later. It's probably why this kit was on sale, but I couldn't go wrong for under 8.00 for the kit. To buy the individual components in this kit would have been more expensive.


These instructions are inaccurate.


Use a pencil when making markings so you can easily erase problems found.


3/4 inch between holes.


Found that the lower hole should not be the same size as the upper hole, adjusting the template.


electrical box fitment to hole before making cuts.


Rockwell Soni Crafter is a great tool for precision cuts. Although I did switch blades later to a carbide blade due to material cutting. I have plaster on top of 1/4 sheetrock. The walls are thick and are like cutting through concrete. This home is from the 1950s era.


Checking snug fitment. Perfect! You never want to remove too much wall. It's always easier to remove than put back.


This wall plate is for the additional Keystone Network hook up that will be added later.

Here you can see the Pendulum coming in handy for great alignment on the lower side of the wall.


Have a vacuum handy as these cuts will make a lot of dust.


I used Armored wiring for extra protection against people running nails in the walls down the road.
I won't be, but you never know what the next owner will do.


The pic below to the right is a specialty tool for cutting back the flex conduit armor off the wiring run.


Sometimes you need to have a fish tape to pull wires it's just easier and quicker.


LEDs are there to help your eyes in contrast with the TV. They are powered off of the TV's USB port.

Above you've seen the kit method. Now if you have a basement with a divider wall and an exposed backside you can do some creative woodworking like this:
The previous owner of this house had this crooked cut little opening and a door to look through the wall at a tv that was in the cabinets under the stairs. Yeah, that's going away immediately.


If you don't have someone to hold the wood backer piece up for you, drive a coupe nails about where you want the bottom to be to help hold it. Then put a few in to keep it in place while you grab some screws.


Planning for TV mount and running power and networking.
Make a template for the box your using for power and networking.


Use the template from the wall mount to gauge locations for everything. Simply laying things out will help you get things right the first time.


I drilled some holes and used an air powered body saw to cut my holes. Roto bit was toast. 24 tooth blade cut things fine.


Testing network from the patch panel to new location.


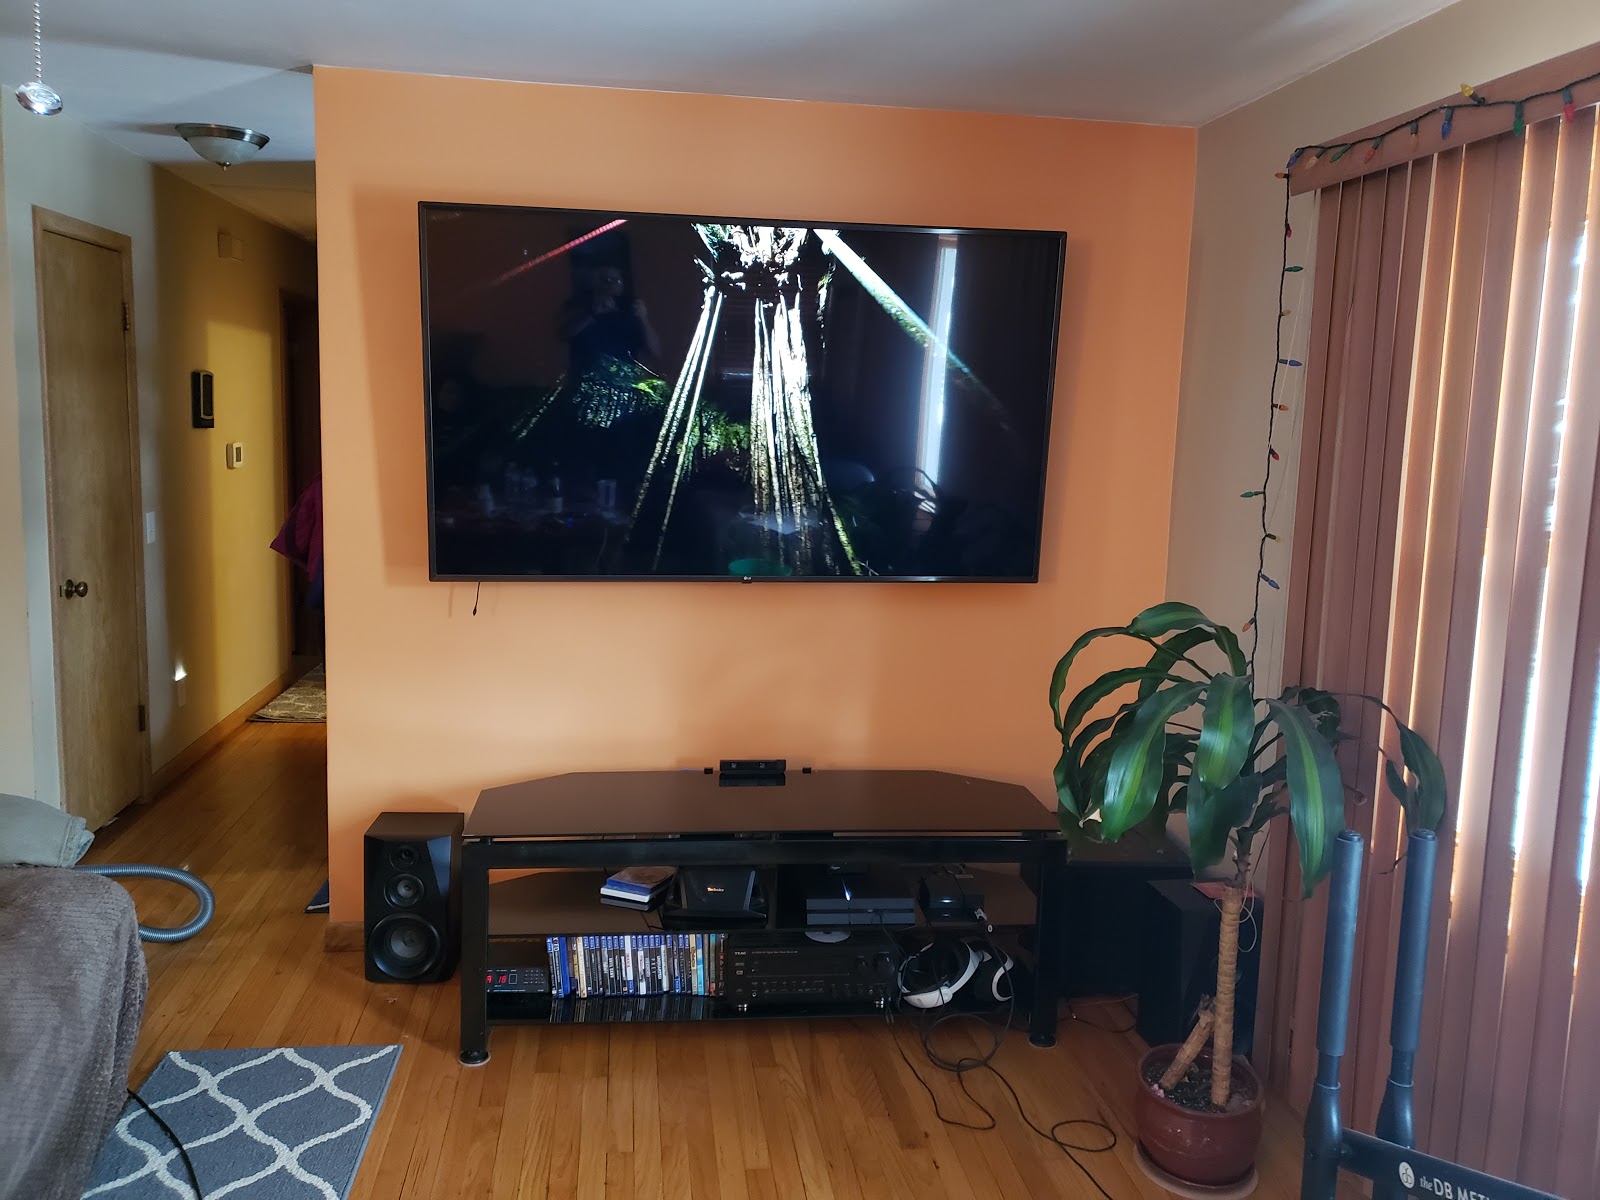
Mount ready and waiting for TV. Cabling will all be hidden behind the tv and out of sight.

No comments:
Post a Comment