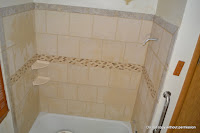
Since there is no Spiderman in my house. I replaced the old terrible looking plastic tiles with real floor tiles. I went cheaper with Ceramic then bordered it with Porcelan bullnose tiles. No one will be walking on my walls so I could careless about shatter or strength rating...
When my roof was hailed on and replaced in 2009 I had the vent cover installed by the roofing company knowing down the road I would be installing a cieling light / fan combo.


When my roof was hailed on and replaced in 2009 I had the vent cover installed by the roofing company knowing down the road I would be installing a cieling light / fan combo.


Yes we did run a tube from vent to fan as it should be to prevent humidity escaping into the attic, which would cause mold over time.

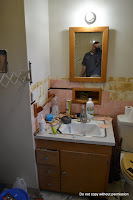
Starting Point for updating 1970's bathroom to functional again. This took more than 1 weekend for me and that was by design.

Ceiling Light but no fan

Adding the fan. Luckily my house was hailed on and I got a new roof. While the roof was being redone I had then put in the vent going out for my planned upgrade to the bathroom to hook into.


This is what I mean by non-functional. Plastic tiles are a no-go.


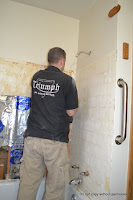
The Fix Begins. So many rails to grab onto. Craziness


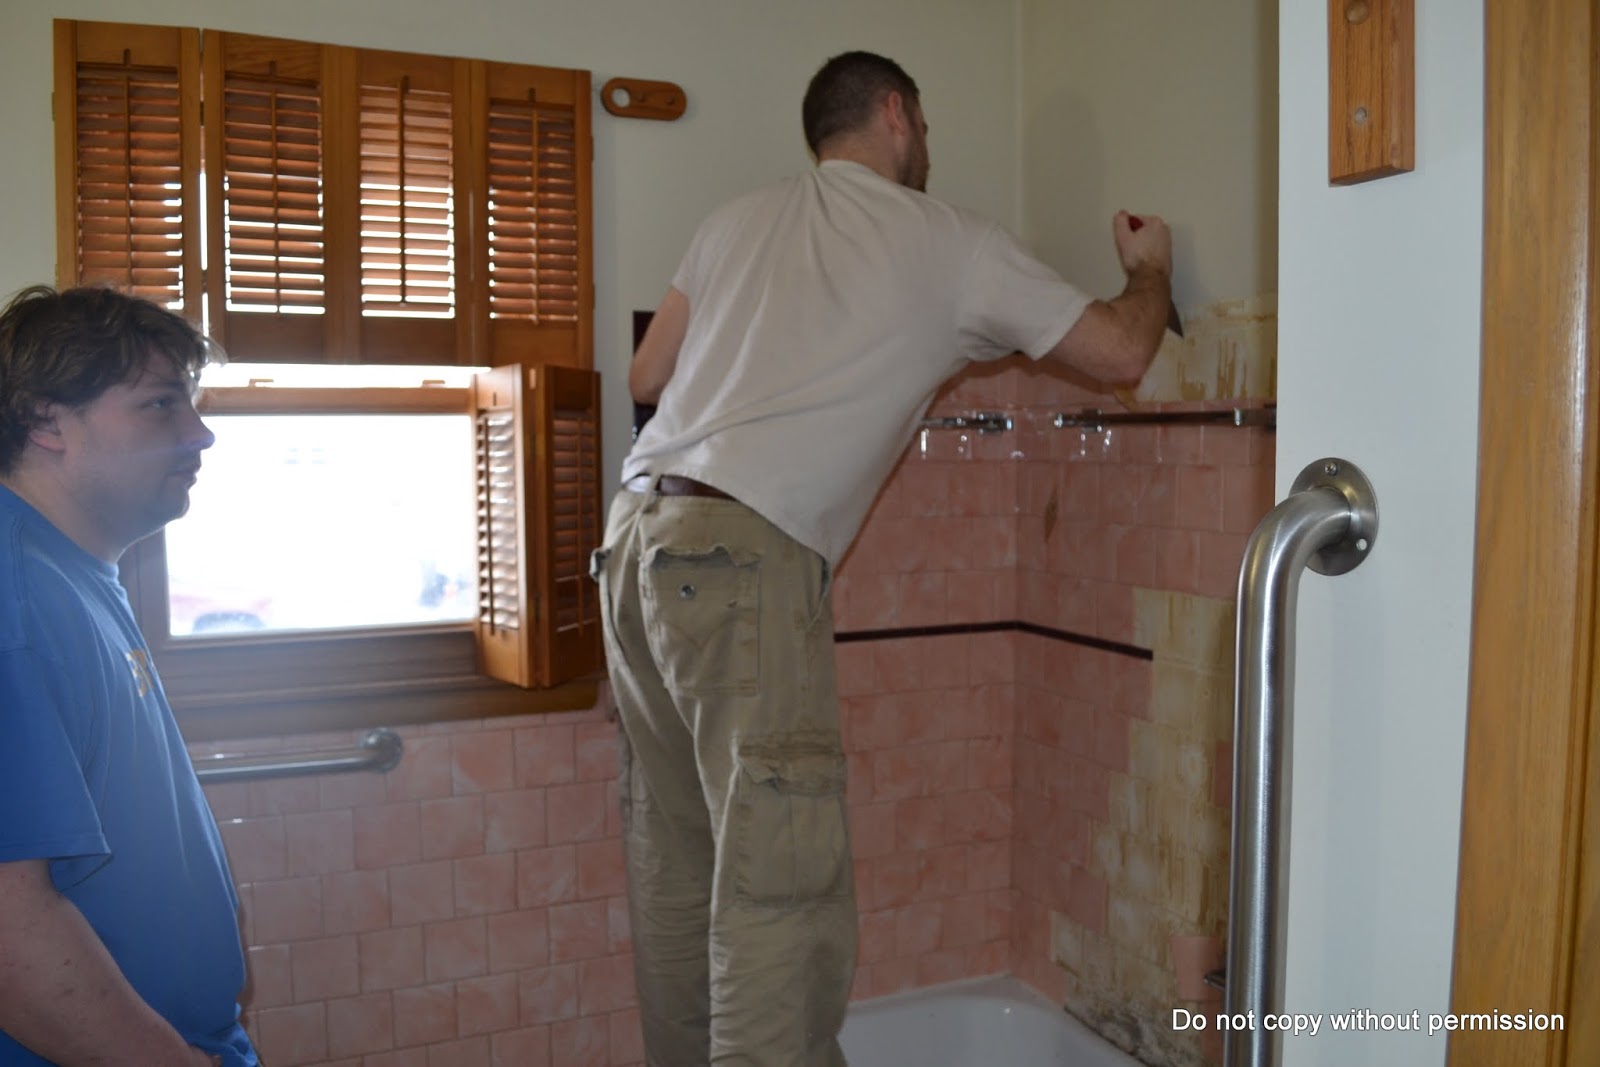


Removing damaged sections of wall.


Materials


Had to shim the sheet rock to meet the plaster then blend it together.


Bought the tiles at Menards


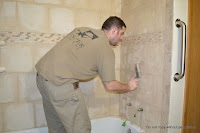
Each shelf you have to set then tape off to hold and let it fully dry. I waited 24 hrs between shelves. Set 1 wait 24 hrs. Set 2 and tape to first and let sit another 24 hrs.


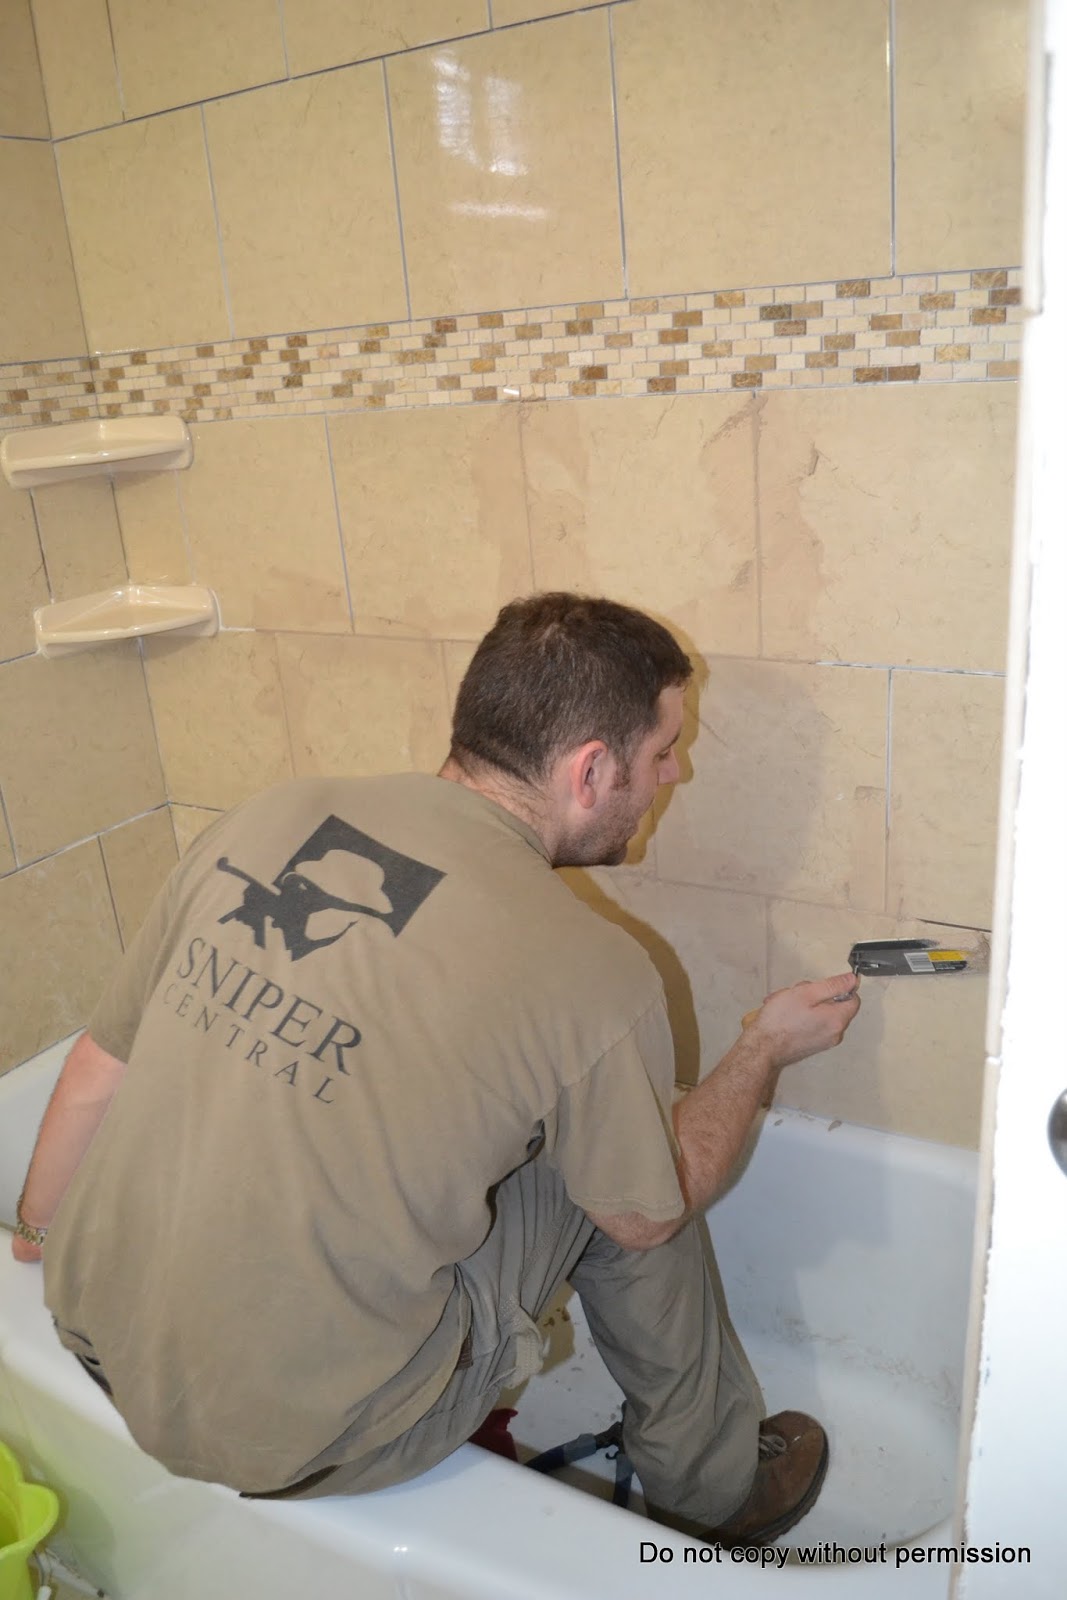
Grout time.


The longer facet spout I wanted had a crappy plastic insert, so I made a brass one.


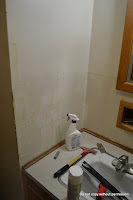
Scraping the residual tile glue from the old plastic tiles off the walls ooh so fun.


Mud Wizard.. Now you see it and now you don't.


Final cleaning of everything.


Thank you good buddy Jesse Ransom for helping on this project.
No comments:
Post a Comment