Before I started, this is how the basement was with only 2 lights.


The real mess was tearing out the squares and having all the years of sand and dirt that sifted through the floor fall through.
Surprise a Wasp Nest between the floor joists. Good thing it was dormant. This was found after the square tile ceiling was removed. It was huge.

This is what was installed before and it had zero lighting in the basement.

10 foot sheets in the back of a Ford Ranger. No problem we'll make it, because I've got skills.
If you try this you better have a bunch of back roads planned and flashers on because max speed is 15 - 20 mph all the way home. Next time I'll just rent the bigger truck from Menards or Home Depot.


After Can lighting installed.


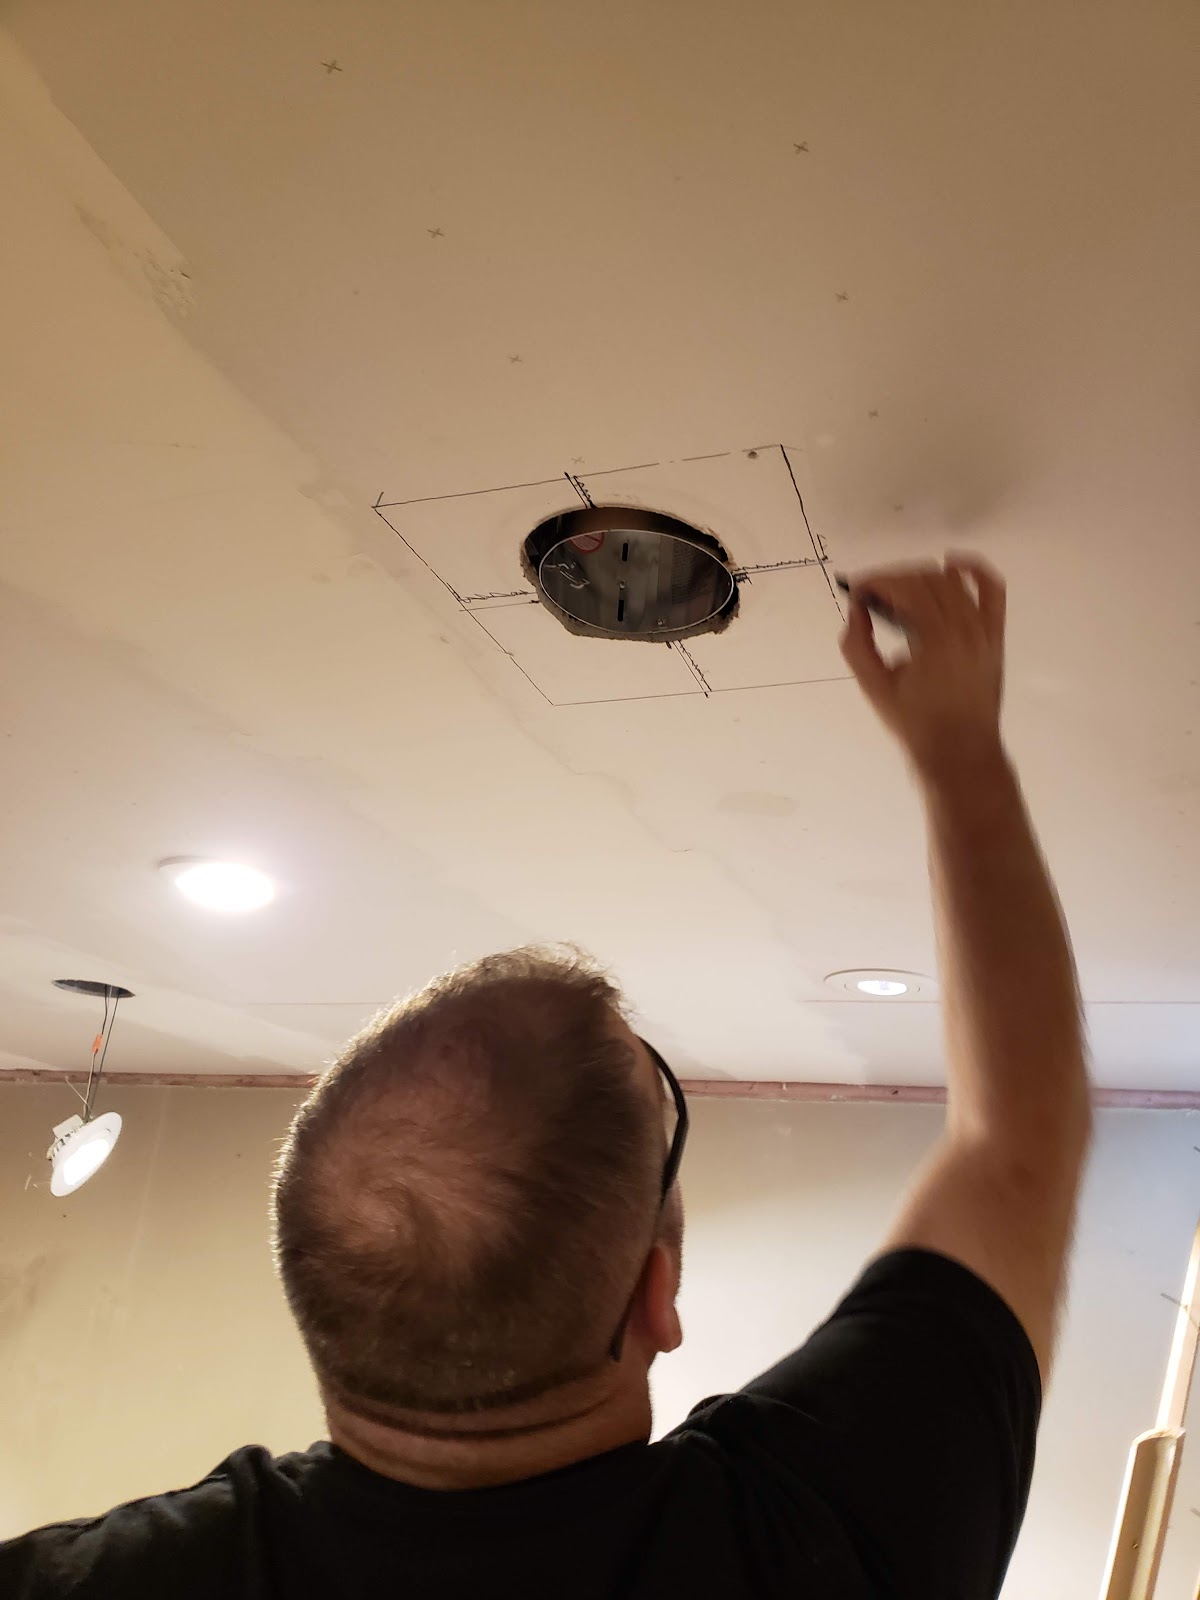
The big oops I'll show how to fix this.


here I want to make a patch from a piece of scrap.


I planned the piece to go from stud to stud.


After I made my dimensions I traced out the scrap so I know where to cut out.


I marked center to center to find center of can.


To find aditional holes measure from end to end and edge of the sheet into the edge of can.


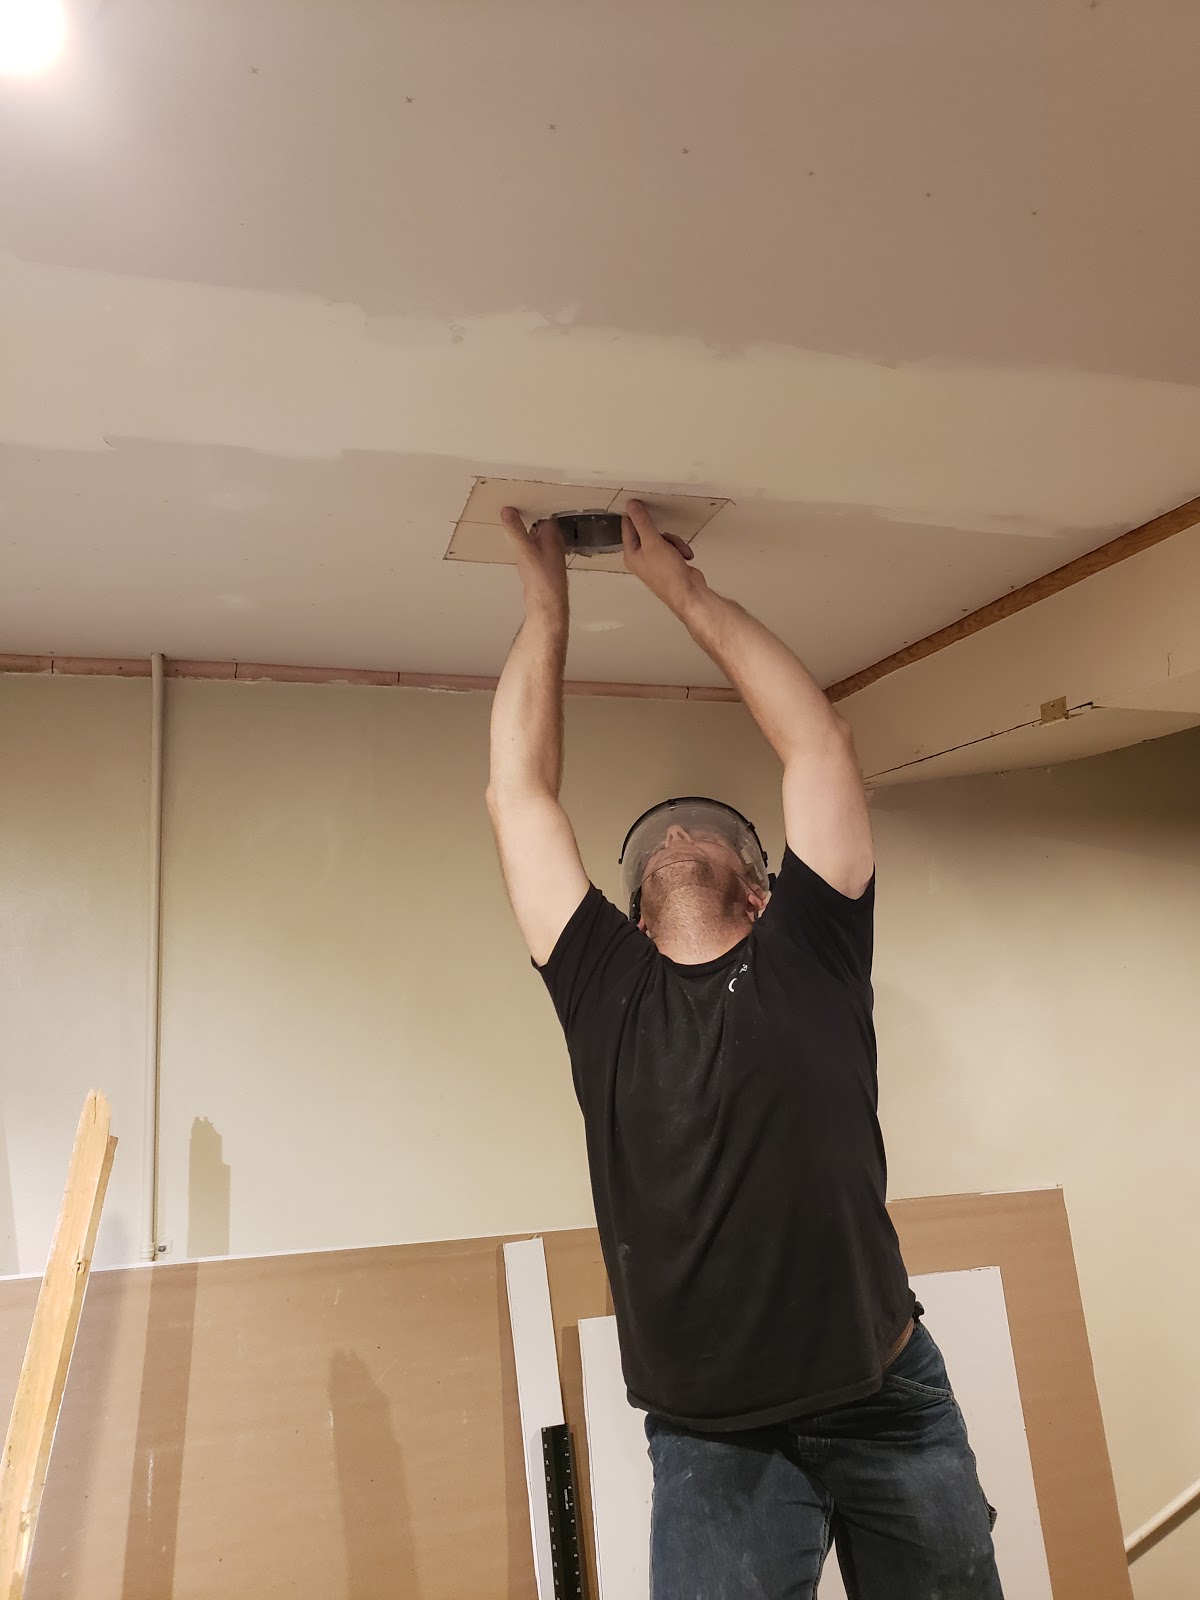
You can use a cutout as a template. once you have your dimensions.


Mistakes do happen. Just repair and and fill in with Joint Compound (mud) later.

Next step is messy as well. Filling the cracks and mistakes with joint compound. Joint tape is used to strengthen the joint and reinforce the compound. Adding water to the compound can help with spreading. Too much will make things a runny mess. If adding water be sure to use small amounts at a time.


One of the best investments ever for mess reduction while saving is the shop vac attachable hand sander for drywall work. Found at Menards years ago.


One of my favorite knifes for cutting Sheet Rock or Drywall. When the blade dulls you just take a pliers and brake a section off.


I will continue to add as I continue to remodel the basement.
Currently looking for used upper cabinets.
weekend 2


Onto the other side of the ducting. The backside of the basement.
Here I switched to another circuit and I added a 360 Degree ceiling motion detector so the light switch can stay permanently on. Lights will turn off and on through the motion switch, so if someone needs to come down the stairs with a load of laundry no hands required.


Moving on to ceiling crown installation. First, pick your Crown I searched and found something similar to what was there. I didn't use the previous crown due to damage during pulling trim and also the previous owner had painted numerous times.


For the finish I mixed 321
mix: 3parts Mineral Spirits, 2 part Polyurethane, 1 part Linseed Oil
I did a couple coats of this with a wet sanding into the grain. I finished off the coats with Satin Masterline Commercial Grade Polyurethane.


On straight runs end with 45 degree cuts so the next piece will pull together nicely


how a smooth transition should look.


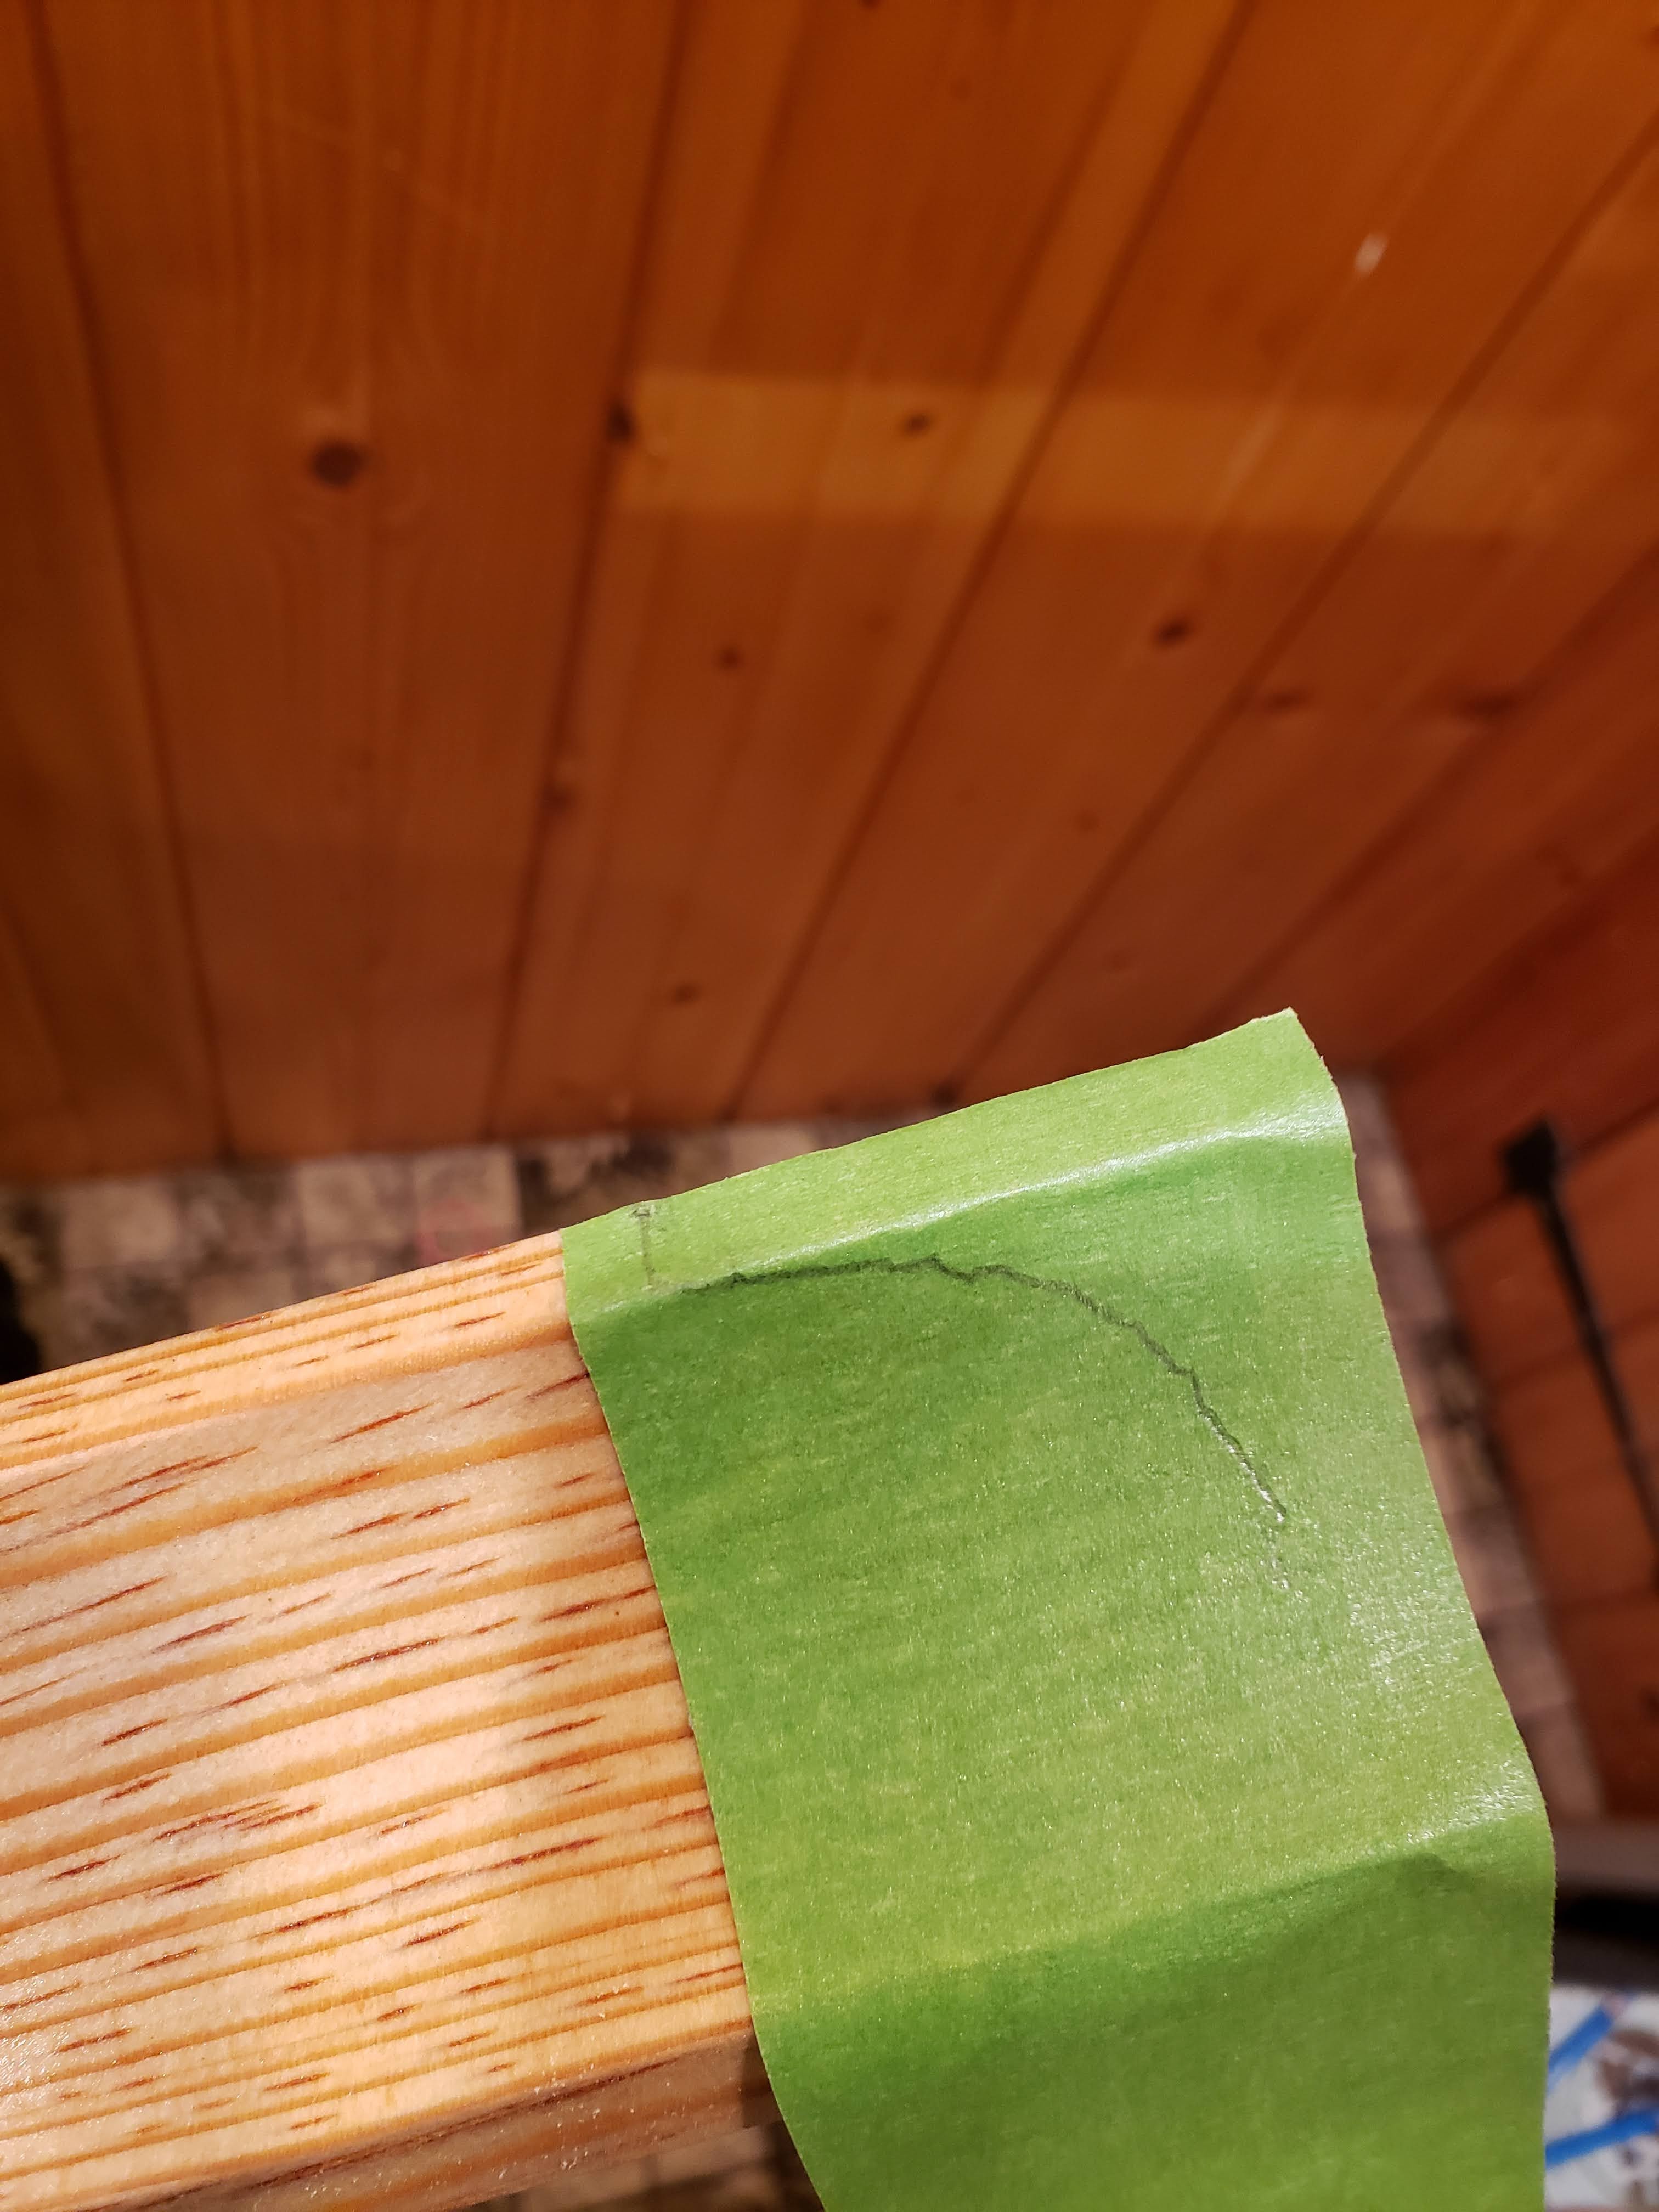
Corners are tricky. You can buy a Kreg Jig to assist you with cuts, but you will still do a lot of test fitting and cutting to get that corner curve.


used a pencil compass and that got me close but not quite there


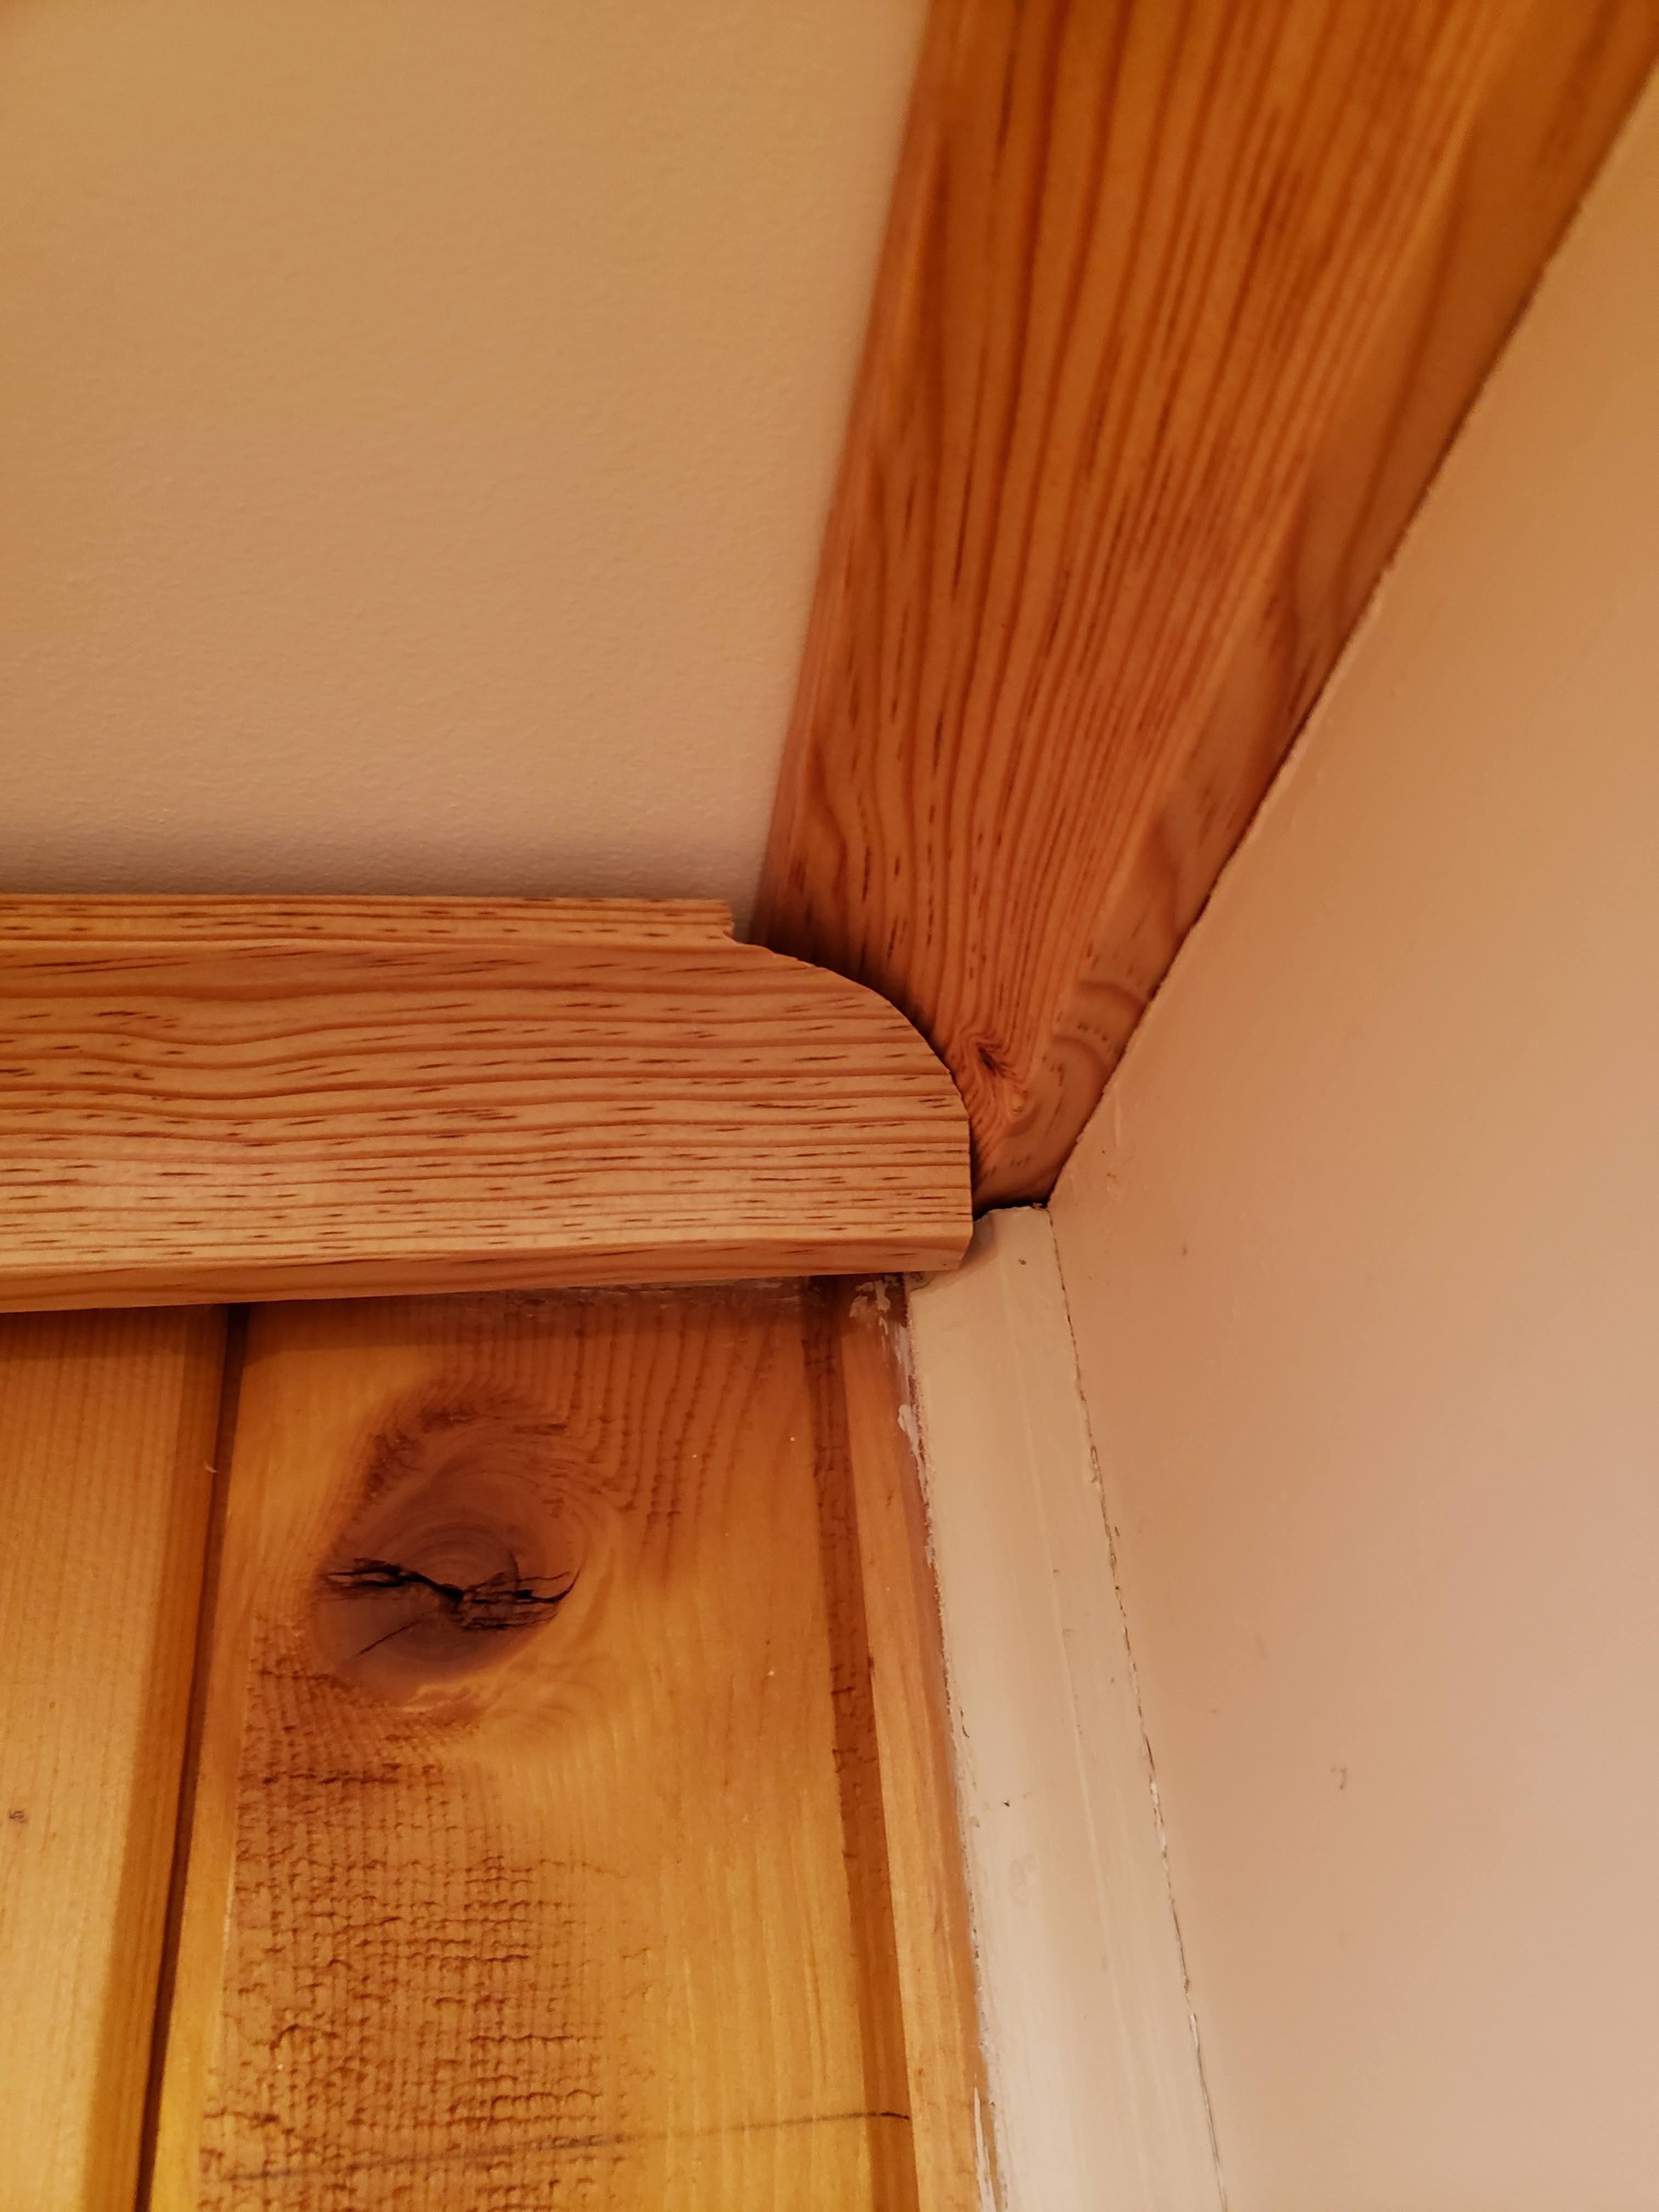
Finalized joint inner corner joint.


