Sunday, June 25, 2023

DIY Security and Storm Door Restoration

 DIY Security and Storm Door Restoration


Making your own security one-way screws with a Dremel. No one sold these particular one-way security screws in this size and length anymore, so I made them myself. 


The door opening on the new front door was narrower than the old Security / Storm door. So I needed to widen by cutting the door trimming back back. To accomplish this I used a compass and close the door to use it as a guide drawing a line down the trim and then I used my Rockwell Sonicrafter to cut the opening. This was wrapped with tin so I used a couple blades rated for wood and metal. 


The original Lock Manufacturer still makes and sells the lock set that fits this Security Door, so I ordered a new lock set in nickel finish and I rekeyed to the old key so that it would match the rest of the home's security doors. Between the Repaint and the new lock set and the thorough cleaning of the glass, this gave the home a total facelift on the front entry. 


All that is left is figuring out the weather seal for bottom of the door, since opening is completely different from original. 


Tuesday, April 26, 2022

New Front Door and saving money

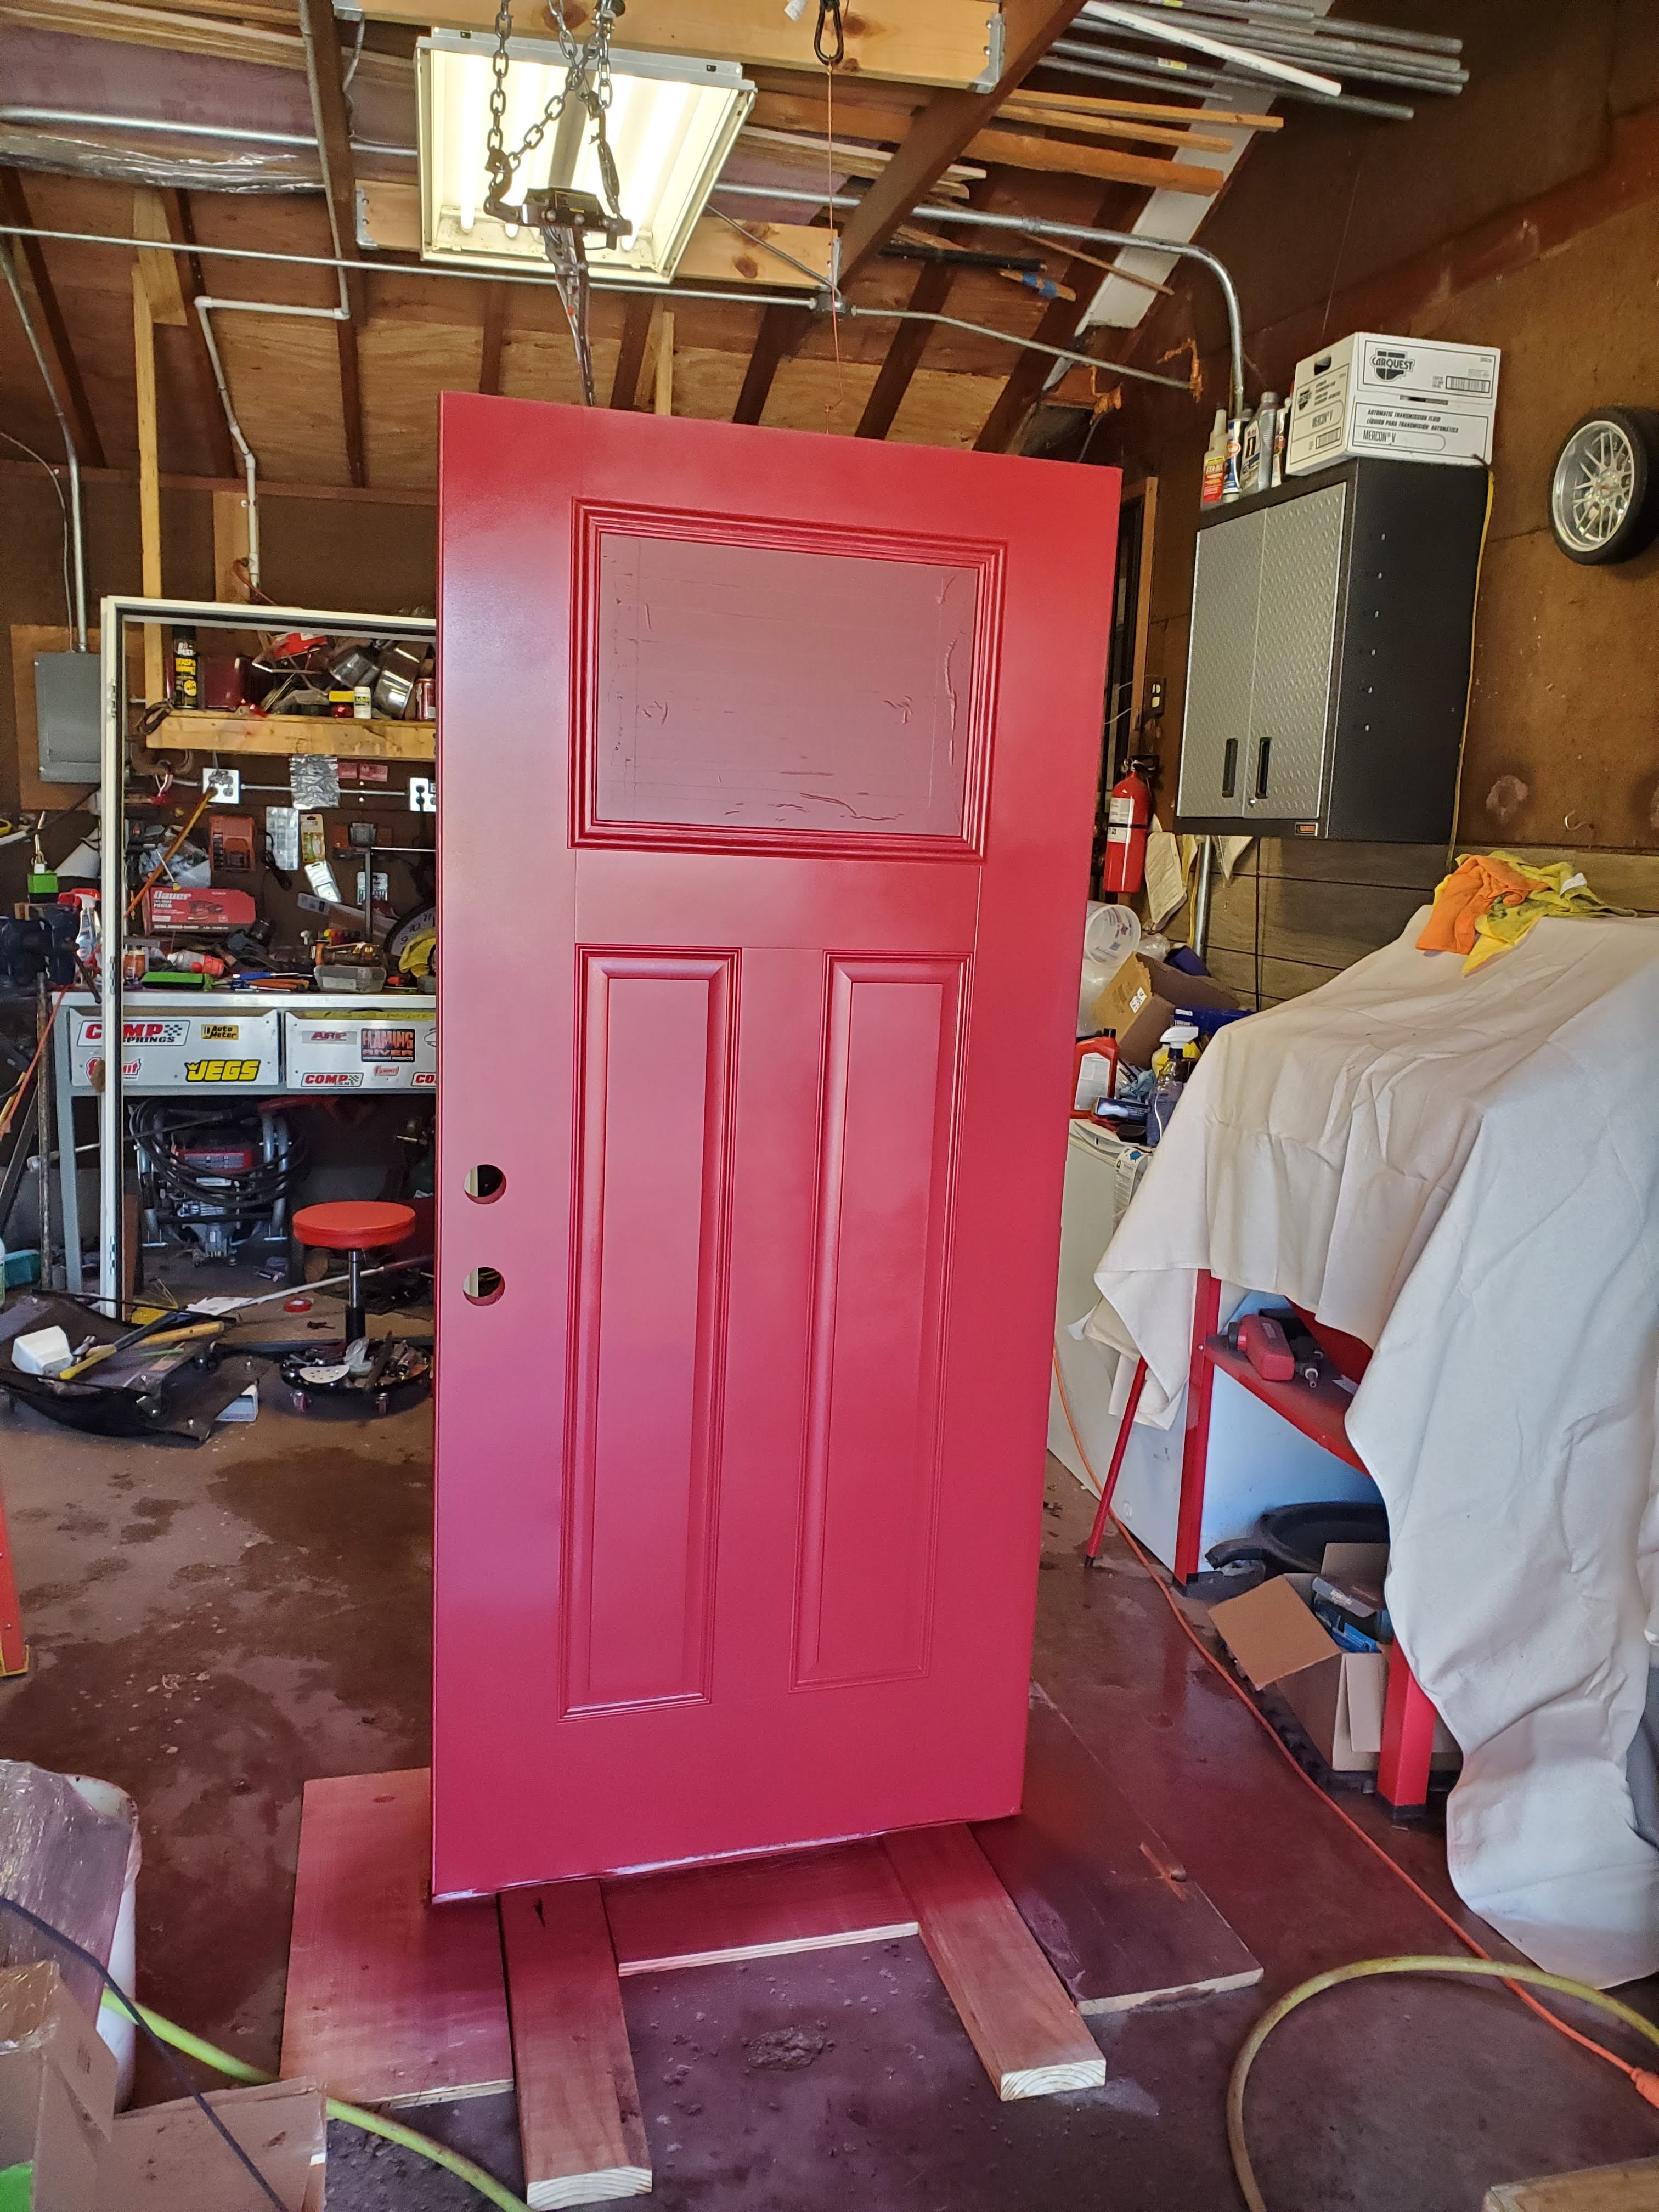
 A new Therma Tru door in color may cost up to $2000.00 from Lowe's, but a white fiberglass one will cost you $300 - $400.00. Save the cash and paint it yourself. 

Using a Harbor Freight Paint Gun designed for automotive paint and some Sherwin Williams water-based exterior paint you can do it yourself. My paint gun came with 2 nozzles and needles I used the larger one 1.8 sizes that is designed for spraying heavier Primer paint. I thinned the paint a bit using distilled water and played with the gun adjustments till just right. I also regulated the air to between 40 - 50 PSI. 

Prep work is most important to a good paint job and when masking it's best to leave a little glass so there is little to no chance of you lifting the latex paint off. 


Remove all hardware.


Support the door from the ceiling above somehow. I screwed a screw in the top of the door to attach a wire to. All this has to do is keep the door up straight. It should not be supporting the weight of the door.


A part of the prep work should be scuffing the door using Scotch Brite sanding pads followed up by 
tack cloth and cleaning with a painting prep product that removes wax dirt oil. Use lint free cloth with products. 


Mix your paint and adjust your gun and start spraying.


Fair warning you will have overspray everywhere in your garage, make sure nothing sensitive is out.


I did 3 coats of the paint.


I wanted to have temperature right for painting. Pending on the product you are using you may need to heat the garage. The product I was spraying had a very wide temperature range it was rated for, so no concerns really on my end. 


When Painting make sure you have good lighting at all angles.


This is the finished product. 

I used about a half a gallon on the door at about 50.00 for a gallon of the paint. That's a lot cheaper for huge energy efficient home improvement