Installing the newly engineered vinyl planks that are waterproof for entry ways are a great improvement to do on your home. It's not overly complicated and requires a few tools. It's also not that bad on the pocket book. There have been great strides on flooring technology and offerings today.
You may want to replace your trimmings around the base of the wall and whatnot as well during the process so plan accordingly.
I replaced all of my base boards.


After carpet and pad is removed be sure to remove or pound in staples. Remove all tac strips and nails.
You want no obstructions.


When you get to your stairs you may find that the staircase top is not level and even with the flooring.
You will need to fix this issue.
Keep in mind old 1950's linoleum may or most likely contain asbestos in it, so be careful not to put dust in the air or accidentally sand it down. Doing so creates a hazard.
half the staircase looked good, but the other side needed almost a 1/4 inch removed in my case.
I went to my big sander first and that did a great job to only so far then I had to switch to other tool options to get to the edge. I used a hand planer for most of rest to fix problem. Then went to a mini belt sander similar to this to get to the very edge.


Be sure your planer has a sharp blade. Makes life a lot easier removing wood.

Once the staircase top is level with the floor you'll want to seal the wood.
I did so by painting with exterior paint I had. Allow for proper drying and curing times before proceeding with flooring job. I let mine sit till next morning.

Now if your walls are jacked up at the bottoms and the plaster is broken up while baseboards are off you may want to repair with mud and repaint before continuing as i did and yes that means waiting some more for 1. Mud to dry 2. Waiting for paint to dry.
This also added another day to the project and additional materials to buy, but if your going through this much effort best to do it now.

In this "closet" area that isn't really suppose to exist I removed the doors and got rid of the track system. I believe it wasn't original to the house and was added back in the 70's. It was improperly installed and the trimmings were barely hanging on. I got rid of it all and removed the trimmings as well as mudded all problem areas and repainted. Down the road I am going to have small bench here for sitting to remove boots and shoes when coming in or leaving.
Also with the baseboards off I filled large voids with spray foam to eliminate any drafts, which I could feel some cold air before but no longer can now.


This will help with heating bill and prevent cold drafts going to the basement somewhat.

Don't forget to use the spacers for expansion gaps around the flooring edges.
Removing the baseboards as I did will allow you to go closer to the wall and hid gaps with the baseboards. If you don't remove the baseboard you would need to use quarter round all the way around to cover the gaps. My old baseboards were pretty badly worn and stained so I opted to buy new and finish them in the basement using an exterior rated water based polyurethane that has built in UV inhibitors.


Each panel clicks into the next. Be sure they are fully clicked in. There should be no gaps and it should appear seamless. There are lots of YouTube vids on this. Be sure to check them out.
Also, while laying these out be sure to try and alternate colors, so they appear to look like a proper wood floor. Butting up darker to lighter patters against one and other.


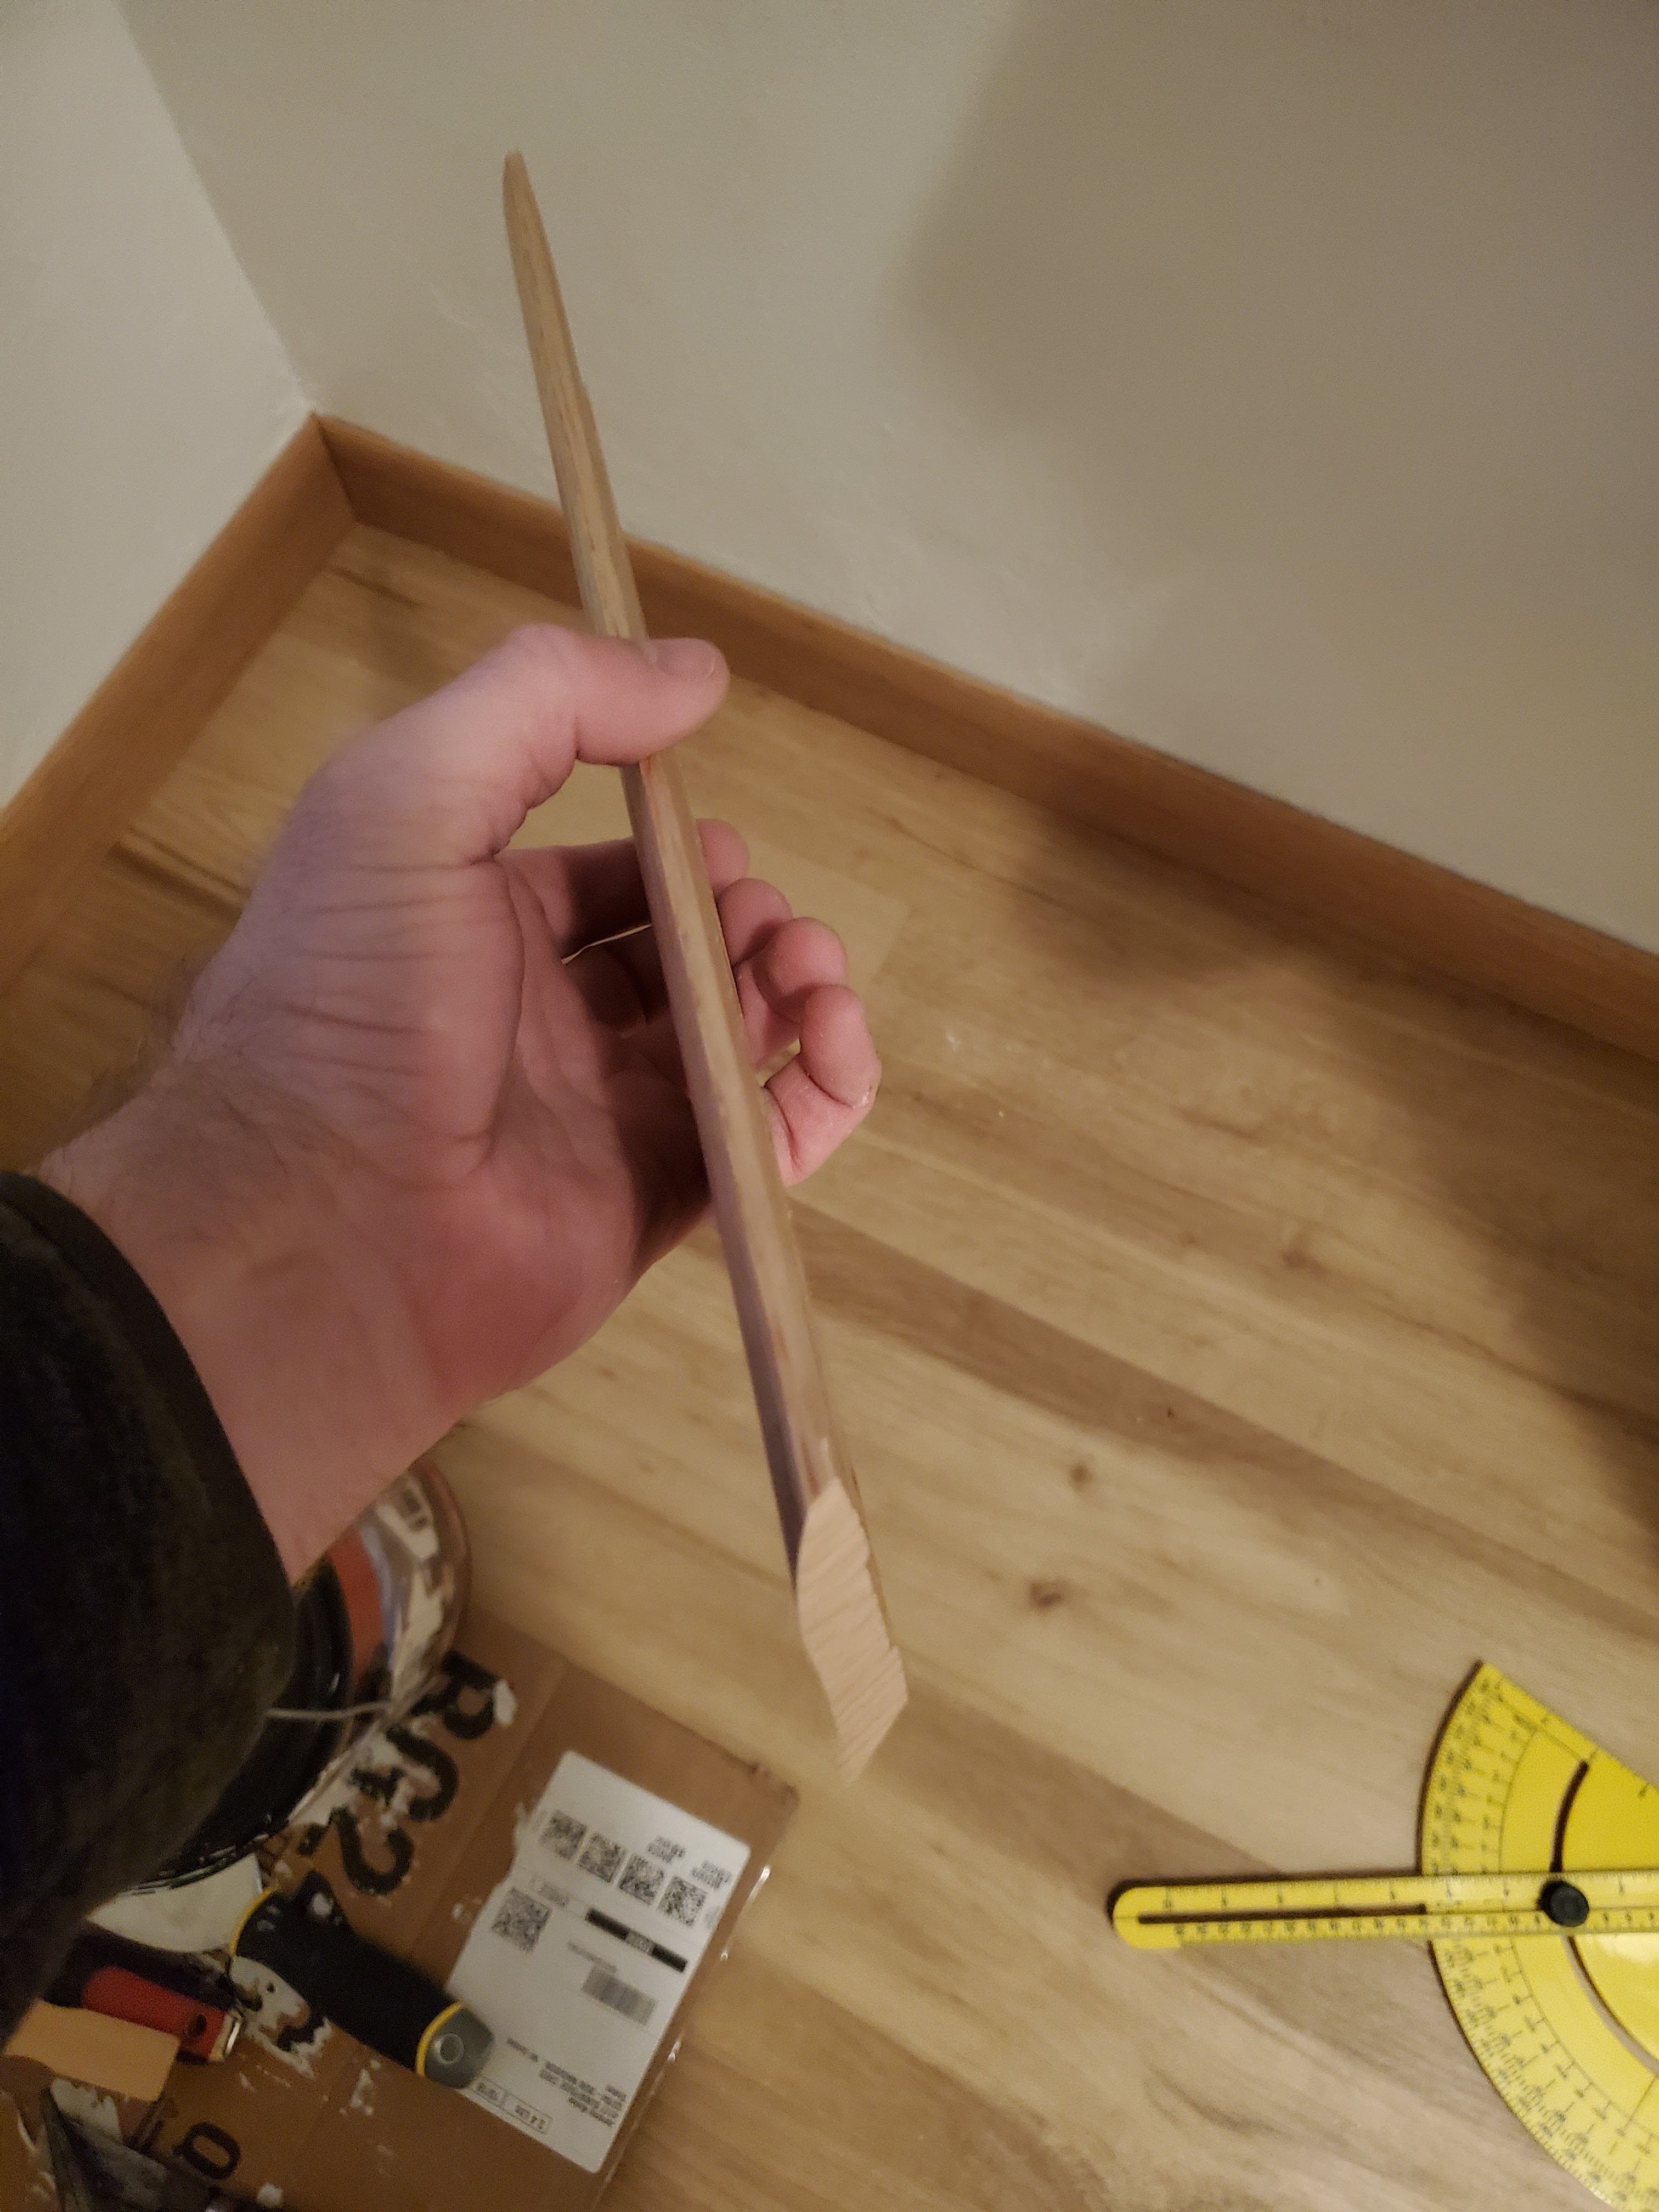


Now for these jobs you do not have to buy brand new tools. This may look new but it is new and old. I scored this Scroll saw on Facebook Marketplace for 60.00. Smoking deal I think for doing some of the trimming work.


It was an old model, but new in box at a fraction of the cost of what the new models cost yet still gets the job done.


Scroll saw allows for tight curved cuts where one trim piece goes up into another nicely


Finished flooring job. Transition to carpet piece just needs to be trimmed to size covering the carpet edge as well as edge of flooring so be sure to leave enough carpet and staple where the edge will be to hold carpet on face of top staircase edge.

The flooring we used here was the Lifeproof Glastonbury Grove Oak